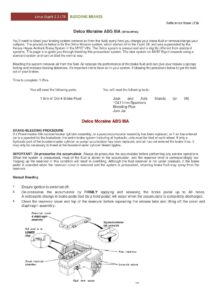
The Lotus Evora Door Latch Kit Fitting Instructions LSL 594 provides detailed guidance for replacing the door latch assembly. The manual covers the removal and installation of various components, including the latch mechanism, cable, and exterior lock rod.
Removal and Installation steps
The manual begins by detailing the removal of the door trim panel and the door sill button. It then instructs the reader to remove the starlock fastener, linkage clip, and cable retaining nuts to gain access to the latch assembly.
Latch Assembly
The manual explains the removal and installation of the latch mechanism assembly, including the exterior release handle control rod, sill button, security shield, latch microswitch harness, and CDL actuator. The assembly is removed from the door shell and the various components are disconnected and removed.
Cable Fitment
The manual provides instructions for fitting the new cable supplied with the kit. The reader is instructed to ensure that the moulded end cap at the end of the release cable is secure and applies a small amount of Loctite to the cable end cap before refitting it to the cable bracket.
Transferring CDL Door Latch Lever Assembly
The manual explains how to transfer the CDL door latch lever assembly from the old latch assembly to the new latch assembly. The reader is instructed to remove the 2 existing screws on the new latch mechanism and to remove the CDL door latch assembly from the original door latches.
Assembly and Testing
The manual provides instructions for assembling the latch assembly and testing its mechanical operation. The reader is instructed to push the sill control rod downwards to set the latch in the locked position and hold the interior release cable at the outer sleeve, gently pulling the inner cable to check the operation and movement of the latch mechanism and cable.
Manual:
Download: Lotus Evora Door Latch Kit Fitting Instructions LSL 594
Chat: Powered By VoiceSphere


