Introduction
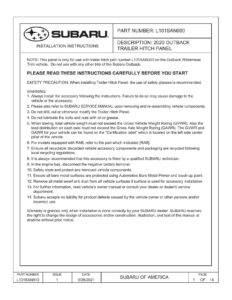
The Subaru Ascent Adjustable Crossbar Kit is designed to provide a convenient and secure way to carry cargo on your Subaru. This manual will guide you through the installation process of the front and rear crossbars.
Front Crossbar Installation
To install the front crossbar, loosen the two top bolts on the crossbar until the bottom stanchions are able to drop and rotate. Remove the crossbar from the packaging and place it onto the roof rails. Orient the crossbar using the front arrow molded on the underside. Push the bottom stanchions downward and outward from the top stanchions, then swing each bottom stanchion around 180 degrees. Engage both parts together and push the bottom piece towards the top piece until the front is nearly flush.
Verify that the bottom piece is fully installed by checking the gaps and steps.
Rear Crossbar Installation
To install the rear crossbar, follow the same steps as the front crossbar, with the exception of the orientation arrow. The rear crossbar is shorter than the front crossbar and is marked with an “R” in the packaging.
Once both crossbars are installed, verify that they have a firm grip with the roof rail by trying to move each crossbar at the attachment point.
Important Notes
- Maximum Load requirements can be found on the top of the stanchions.
- Follow instructions that came with Genuine Subaru attachment accessories for proper placement of the crossbars when transporting objects.
Store the T30 torque wrench in the glovebox for future use.
Manual:
Download: Subaru Ascent Adjustable Crossbar Kit Installation Instructions
Chat: Powered By VoiceSphere

